
0
You have no items in your shopping cart.
Search


 Shade Patio Covers")


Welcome to our store
25 Years In Business
Pro Installation Advice
High Quality DIY Kits
Large Selection
Custome or Stock Kits
Contractor Discounts
Pro Installation Advice
High Quality DIY Kits
Large Selection
Custome or Stock Kits
Contractor Discounts
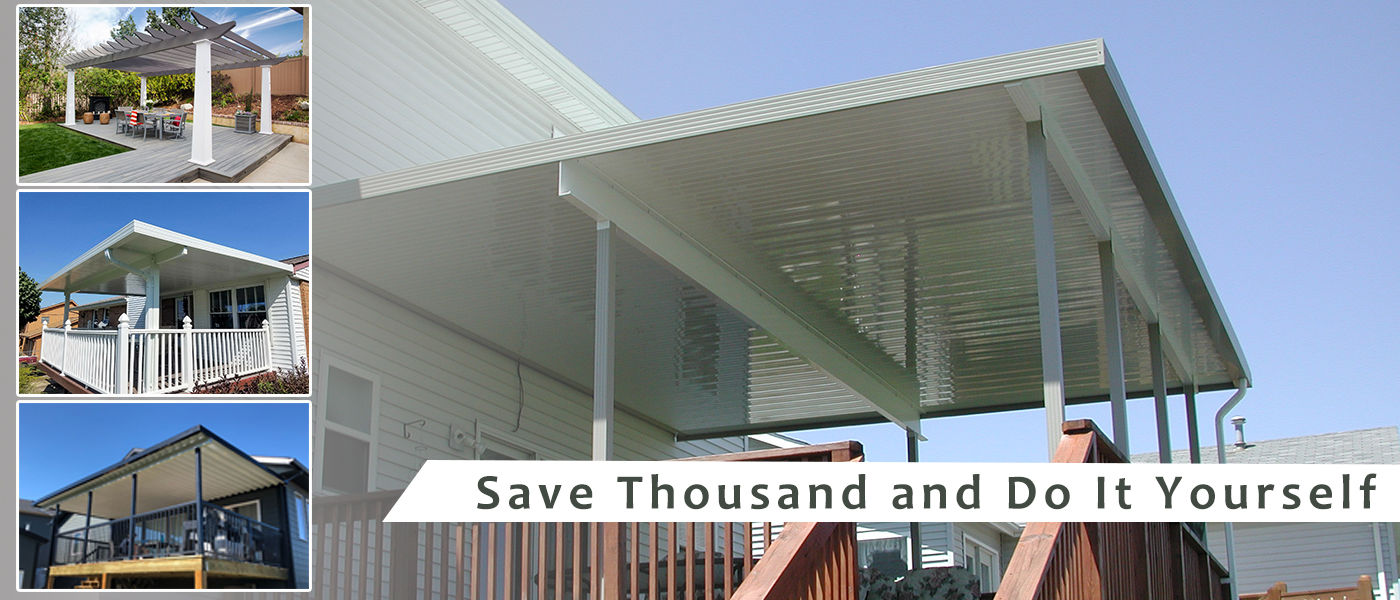
Do It Yourself and SAVE - We Can Help
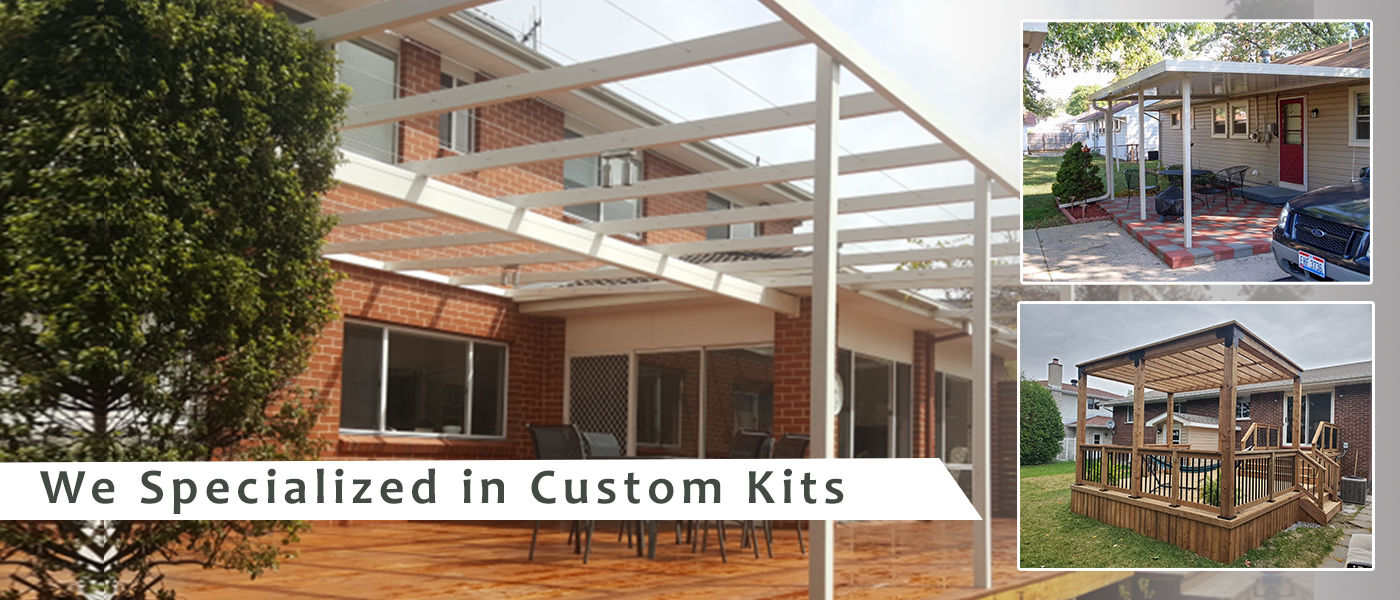
Custom DIY Kits
Latest From Blog
6/11/2010 4:34:11 PM
Modular Screen Room. We have put together step by step instructions with pictures to help you install an insulated roof ...
Read More6/10/2010 1:34:54 PM
Modular Screen Room Installation project. Step by step instructions on installing modular screen room sections to a deck...
Read More